The Windows Program for PN532Killer loads the config file in the same folder as the PN532Killer.exe file. Here’s the tutorial to connect PN532Killer to Windows.
Install the driver
Install the driver of CH343 which is the USB serial chip on PN532Killer. You can get it on the Downloads Page.
Connect PN532Killer to Windows with a USB Cable
PN532Killer supports USB A to C and USB C to C cables. After connecting, a new COM port will be shown in Device Manager, eg, COM12.
Edit the PN532Killer.conf file
This file will tell the program how to work with the PN532Killer hardware. Change the COM port number to the one above.
allow_autoscan = true
allow_intrusive_scan = false
device.name = "PN532Killer"
device.connstring = "PN532Killer_uart:COM12:115200"
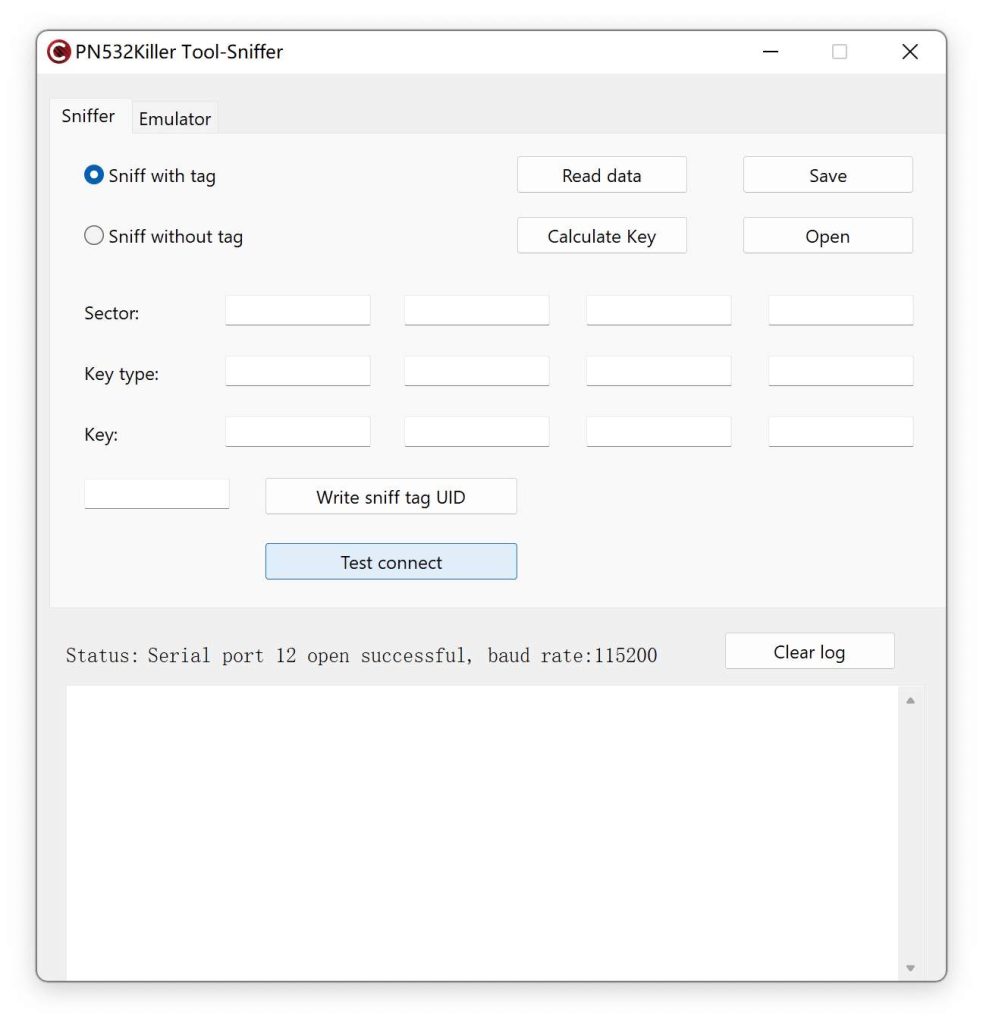
english = trueOpen the PN532Killer.exe file
This is the main program for PN532Killer. Click the Test Connect button to check if the Connection is OK.